Local AI Assistant with a Raspberry Pi
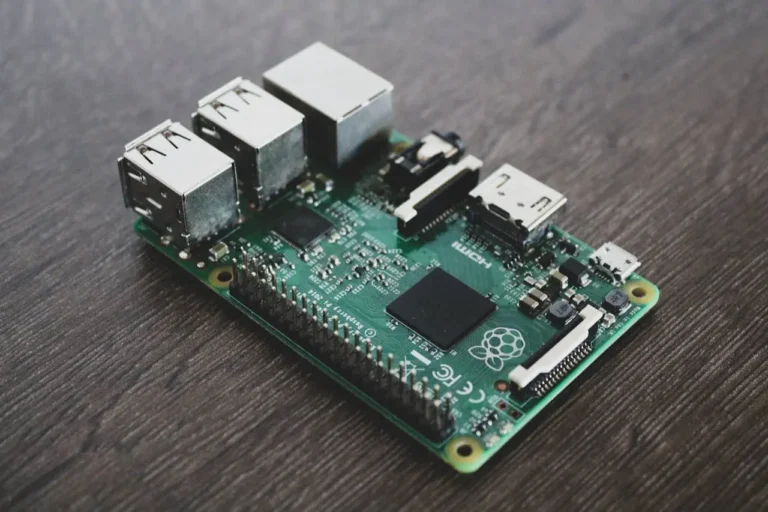
Apparently, it is becoming easy as pie to run a local AI assistant with your Raspberry Pi only, and I want to try just that.
I’ll take you along the journey, point out difficulties and make you have your setup done in minutes.
Now first, let’s clarify what we’re going to do here:
Our main goal is, to run AI models from our Raspberry Pi but have the ability to control them through a GUI in our browser.
Once we’re done, we should be able to just type the Pi’s IP-Address into a browser and sign in over Open WebUI.
What’s needed?
- A Raspberry Pi (gen 4 is recommended)
– I’ll be using a Raspberry Pi 5 - Power supply
- MicroSD card (with adapter to connect to a pc)
Also, 64 GB of storage is recommended - Secondary pc to flash the microSD with Raspberry Pi OS
Flashing the SD card
To start fresh and free up space on my microSD, I’ll install a fresh copy of the Raspberry Pi OS (formerly called Raspbian OS) onto my Raspberry Pi 5. If you want to do the same, follow the steps below, but keep in mind, that if you write the new OS to your pi, everything on it will be lost.
- Go to the official page of Raspberry Pi’s Imager website and download the imager
- Now turn off your single board computer, running
sudo poweroffas a command in your pi’s terminal - Wait for a few seconds to let it boot down
- Remove the power USB-C cable and take out the SD card
Caution: Everything you had on your Raspberry Pi will be lost if you follow the next steps !!!
- Now to flash the SD card, we’re going to need an adapter to connect the microSD to a pc
- We’ll need some storage space, to save the AI models to our system. I recommend at least 64 GB
- Open the Raspberry Pi Imager and follow the steps depending on your device
Great, we’re ready to start the interesting stuff!
Installing ollama
Install ollama by visiting their download section.
Installing docker
sudo apt-get update && sudo apt-get upgrade -ycurl -sSL https://get.docker.com | shsudo usermod -aG docker $USERlogoutsudo systemctl start dockerNote: You may want to check out “Working with systemctl” to learn more about it!
docker run hello-worldHello from Docker!
This message shows that your installation appears to be working correctly.Allowing docker to access Ollama
sudo nano /etc/systemd/system/ollama.serviceEnvironment="PATH=/DO/NOT/TOUCH/THIS"...
Environment="PATH=/DO/NOT/TOUCH/THIS"
Environment="OLLAMA_HOST=0.0.0.0"
[Install]
...sudo systemctl daemon-reloadsudo systemctl restart ollamaInstall Ollama-WebUI
git clone https://github.com/ollama-webui/ollama-webui webuicd webuidocker compose up -dRegister to Open WebUI
Get your PI’s IP address:hostname -Ihttp://<IPADDRESS>:3000Don’t freak out, if it’s not running right away on your local network. Make sure you can access it from the Pi first and test it from another machine later.
Now register to Open WebUI. As the first user, you will automatically become an admin.
Installing an AI Model
Most of the complicated tech stuff is now done. These next steps caused me some trouble because I didn’t know I had to connect WebUI to Ollama, but luckily for you, I’ll explain.
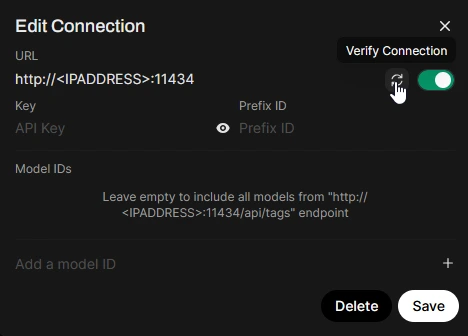
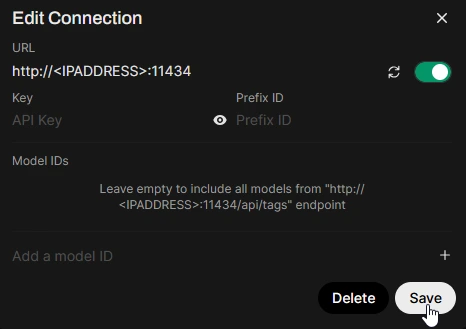
Let’s connect WebUI to Ollama:
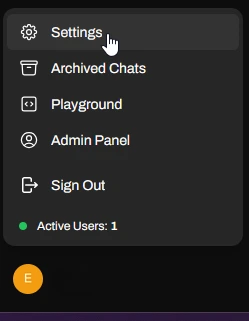
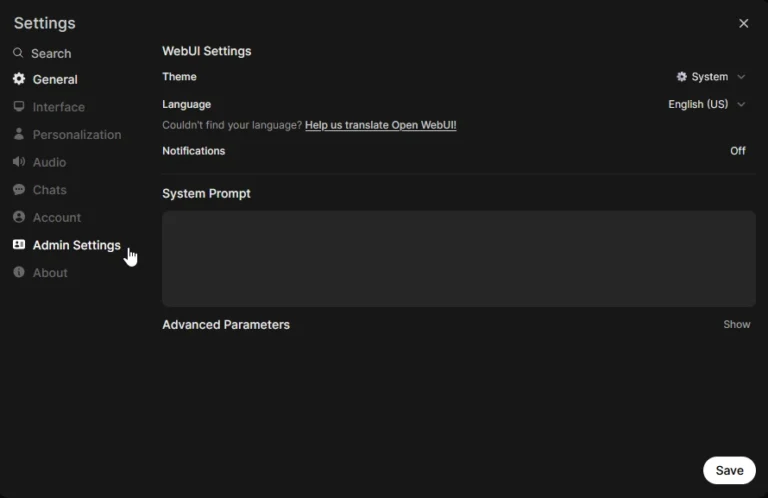
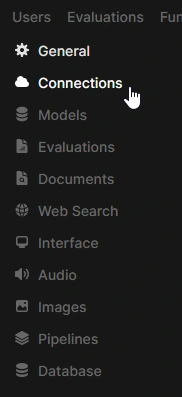
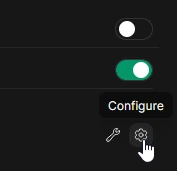
Navigate to “Settings” in the lower left section of the page.http://<IPADDRESS>:11434The instructions above might slightly differ from yours since WebUI constantly updates the look and feel of their software, but you should be able to follow along just fine. If you should stumble upon something, please let me know in the comments section, so I can resolve and update it.
To add a model, head to “Connections” again and instead of clicking on the “Configure” cog icon, click the “Manage” tool icon ![]() and start pulling models from ollama.
and start pulling models from ollama.
Model recommendations for Raspberry Pi:
– llama3.2:1b
– dolphin-phi
– tinydolphin
– tinyllama
Once your model is downloaded, you’re done! Have fun!
Conclusion
In conclusion, setting up a local AI assistant with a Raspberry Pi can be a fun and rewarding project, despite the Pi’s limited processing power. While the Raspberry Pi may not be the most powerful device for running AI models, it’s still a great way to experiment and learn about AI technology. With the steps outlined in this guide, you should be able to get your local AI assistant up and running in no time. Just keep in mind that the Raspberry Pi’s limitations may lead to slower performance and potential bottlenecks, but that’s all part of the tinkering experience.
